Post by PomeRuck on Jul 12, 2005 2:22:35 GMT -5
This process is not for the beginner mechanic because to do this your ruck will end up looking like this.....
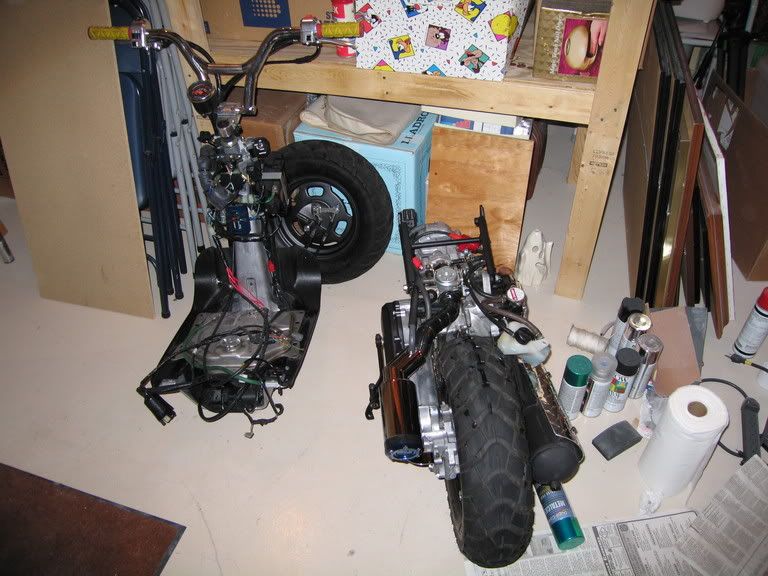
don't get into this unless you are pretty good. most importantly make sure you remember (marking is the best) where everything goes. now this is not that big of a deal with the ruckus because there are no ends that can accidentily get mixed up accept for the slide connectors on the coil. everything else pretty much has its' own "personalized" connector. after taking everything apart, shave off all the crappy brackets, hooks, or gnomes you don't want on your frame. also drill any holes for new crap you are going to put on later BEFORE you send it off to be painted. after you grind all this shit off, it is NOT going to be smooth. check with your paint shop to see if they will prime/paint over spray can primer. the process goes like this. spray a few coats of primer over the lumpy uneven parts, let it dry and sand smooth. if it is really lumpy like my metal was, you will need to do this several times over until it is nice and smooth. for me the hardest part was the rear tail light bracket. i hate this thing. i screamed at it a few times. once everything is smoothed out, prime over all the rest of the surfaces. make sure the metal is cleaned with soap and water. then sand the last coat down with a real fine grit paper like 1000 'till the primer almost shines. REMEMBER, the more work you do for your paint shop the easier it will be for them. i would definately advise not painting yourself. it's too much work for a crappy paint job out of a can.
here are some pics of the parts that are headed to the paint shop tomorrow.
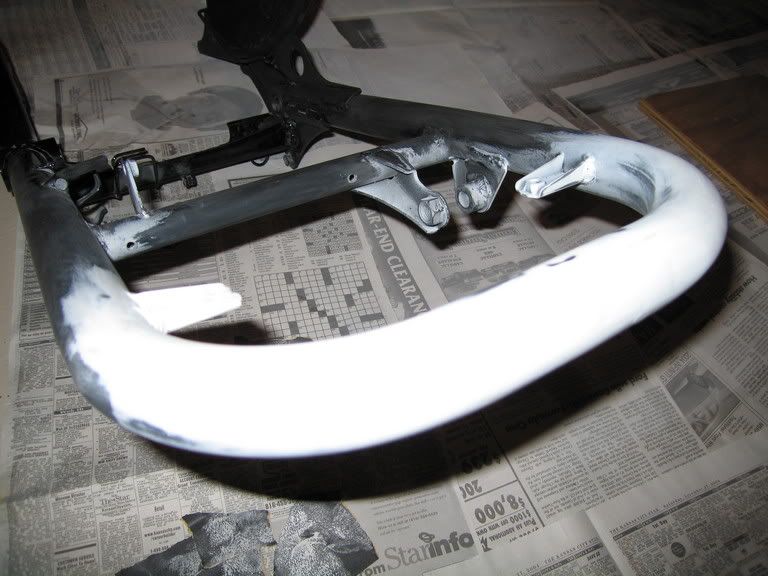
this is one during the smoothing process of the tail light bracket. i hated this thing. removing it and grinding it was horrible. remember to use eye and ear protection, AND a breather mask when grinding metal shit with a dremel.
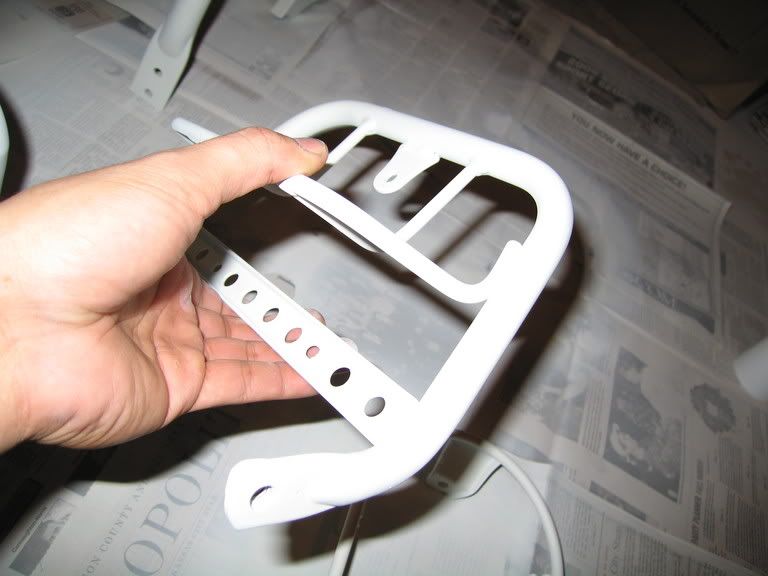
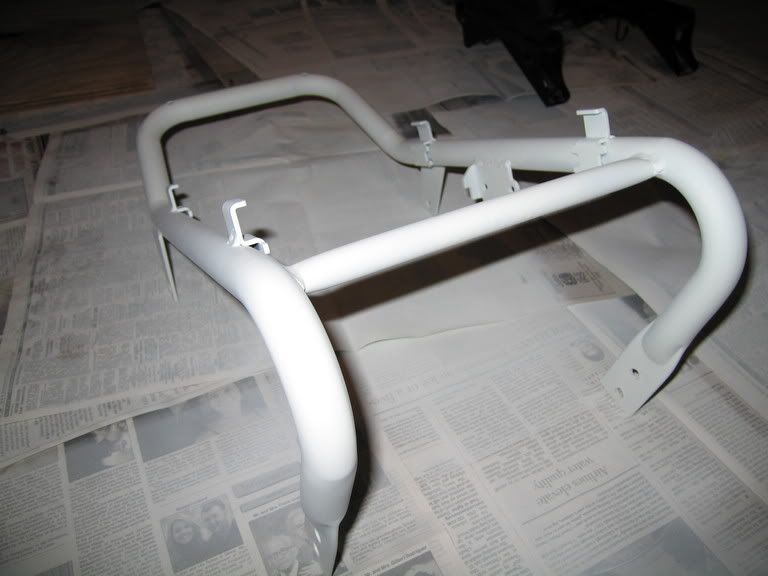
this is one of the headlight bracket after all the SHITTY ass reflector and turn signal tabs were removed and smoothed.
the seat lowering kit comes with a freaky looking hook on the front cross brace for like plastic bags and shit. i was afraid it would get caught on my BALL SKIN so i shaved it off. here it is smoothed out.
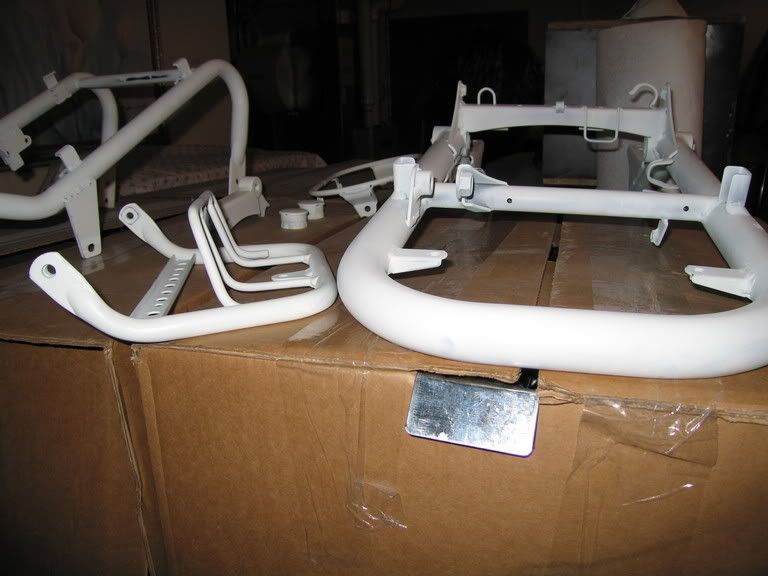
here's all the stuff chillin' waiting for some SWEET PEARLY PAINT! notice the two tiny holes on the main frame pice. one is just to the right of the shock mount. the other is a few more inches to the right. this is where my license plate is going to go. yes, it will be tucked way underneath the cargo pan. i hope no pigs pull me over and find my stash under my balls. remember to drill before you prime/paint.
remember to take your time, label all your shit, take pictures to remember where it all goes, use proper safety crap to protect your lungs, eyes, and ears, and remember to atleast wipe 4 times after crapping or you are a [glow=red,2,300]DIRTY BASTARD.[/glow]
don't get into this unless you are pretty good. most importantly make sure you remember (marking is the best) where everything goes. now this is not that big of a deal with the ruckus because there are no ends that can accidentily get mixed up accept for the slide connectors on the coil. everything else pretty much has its' own "personalized" connector. after taking everything apart, shave off all the crappy brackets, hooks, or gnomes you don't want on your frame. also drill any holes for new crap you are going to put on later BEFORE you send it off to be painted. after you grind all this shit off, it is NOT going to be smooth. check with your paint shop to see if they will prime/paint over spray can primer. the process goes like this. spray a few coats of primer over the lumpy uneven parts, let it dry and sand smooth. if it is really lumpy like my metal was, you will need to do this several times over until it is nice and smooth. for me the hardest part was the rear tail light bracket. i hate this thing. i screamed at it a few times. once everything is smoothed out, prime over all the rest of the surfaces. make sure the metal is cleaned with soap and water. then sand the last coat down with a real fine grit paper like 1000 'till the primer almost shines. REMEMBER, the more work you do for your paint shop the easier it will be for them. i would definately advise not painting yourself. it's too much work for a crappy paint job out of a can.
here are some pics of the parts that are headed to the paint shop tomorrow.
this is one during the smoothing process of the tail light bracket. i hated this thing. removing it and grinding it was horrible. remember to use eye and ear protection, AND a breather mask when grinding metal shit with a dremel.
this is one of the headlight bracket after all the SHITTY ass reflector and turn signal tabs were removed and smoothed.
the seat lowering kit comes with a freaky looking hook on the front cross brace for like plastic bags and shit. i was afraid it would get caught on my BALL SKIN so i shaved it off. here it is smoothed out.
here's all the stuff chillin' waiting for some SWEET PEARLY PAINT! notice the two tiny holes on the main frame pice. one is just to the right of the shock mount. the other is a few more inches to the right. this is where my license plate is going to go. yes, it will be tucked way underneath the cargo pan. i hope no pigs pull me over and find my stash under my balls. remember to drill before you prime/paint.
remember to take your time, label all your shit, take pictures to remember where it all goes, use proper safety crap to protect your lungs, eyes, and ears, and remember to atleast wipe 4 times after crapping or you are a [glow=red,2,300]DIRTY BASTARD.[/glow]
 LOL LOL